Behind the scene at Bubble Tech
For as long as I can remember, I was always curious how things were made and loved learning new crafts. From episodes of How it's Made , to forum build threads, and youtube tutorials, I loved soaking in all the knowledge I could get. The behind the scene stuff from companies were particularly my favorite.
As I'm finalizing a few new products, I thought I'd do my own Bubble Tech behind the scene: Design and fabrication. This will not be a tutorial (As I'm not going to teach you how to make our products -_-) but an article on the mindset of our design process and the back end decisions that dictate the products final outcome.
99 Spec Canards
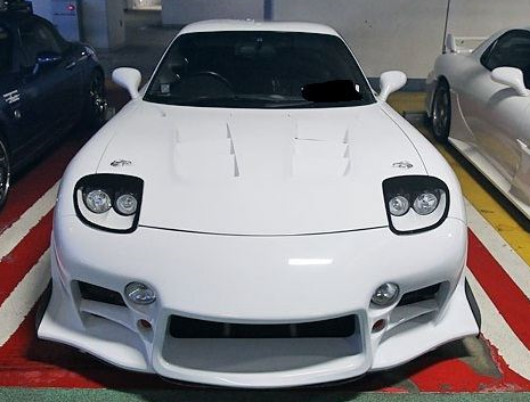
For the first product I'll be talking about is our 99 Spec canards. I've always loved the 99 Spec bumper but it was missing something for me. Personally, I consider myself to have a very aggressive TA styling taste. There's just something so menacing about their appearance and can be found in the iconic cars such as R-Magic and Panspeed. This is everything the 99 Spec bumper lacked, but, it was a great base to build off. Immediately I knew I wanted to use the FEED FD as inspiration. These are by far one of my most favorite canard setups. Visually, the contour and the aggressive angle was exactly what I was aiming for. Simulating the same language of the top leading edge, I began developing the remaining face (side plate) by doing hand sketches to get the general shape. After a few renditions I knew I had the general shape I wanted, on to the cardboard mock up!
Next was the canard strake (well that's what I call it) and bottom mini splitter. I didn't want the generic rounded off shape you commonly see so I dug through my car inspiration folder on the computer and stopped at this. RE-Amemiya AD Facer 9. The mild S curve on the bottom lip edges would provide the perfect balance for our 99 Spec canard set up. The next step was to scan the pieces and recreated them using a CAD software (I actually just used a vector program). Once completed I send it over to a CAM software which converts the drawing into G-Code. This scripts the path into coordinates for the CNC follow. Lastly test and tweak till they're perfect!
Now as fabricator oriented designer, I always design with mindset of how the product will be manufactured always keeping in mind, repeatability, accuracy and quality. So simultaneously I am always thinking of what material suits the product best, which tools/machines are needed, what jigs I may need to maintain repeatability and the order it all needs to be manufactured in. With that in mind, right off the bat I knew this would be a 3 piece design vs 2 piece design for multiple reasons. Besides having to produce an extra part, having a 3 piece design allows parts to be individually replaced if they get damaged and it can be shipped flat (saving customers money).
Various prototypes/revisions
Hardware. This is something that is commonly overlooked but is a huge pet peeve of mine. It's all in the details and hardware/hardware placement which typically has me spend hours on end debating and sourcing the perfect hardware. Here is the debate I had with myself:
Rivnuts- Easy for the customer to assemble but very unlikely they'll have the tool to apply the rivnuts into their bumper. Also it protrudes on the inside opening the most making it the most un-appealing.
Screws and nuts- Easy to assemble and no specialty tools required. But you will need access to the backside of the bumper to connect the canards (most likely have to remove bumper = Huge PITA)
Rivets- Fairly easy to assemble, fairly common tool ($5 @ Harbor Freight).. and comes in black?!?!?!!? SOLD!!!
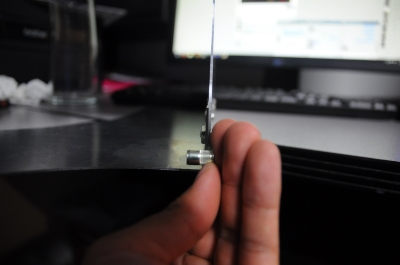
Rivnut comparison to Screw/nut
Comparison: 5/32" rivet, screw/nut, 1/8" black rivets-Practically invisible, perfect!
We pride ourselves in producing quality parts with perfect fitment. As you can see in all the stages of the process, all the parts generally look the same but to achieve our quality of fitment, we go through a ton of revisions fine tuning them to make sure the fitment is spot on. Here is an example of the type of revisions we go through. This is the last 3 revisions to our Canard face. Notice the furthest 2 pieces (the middle one is the final product), the hair of a difference? Yeah, that was the revision made because the previous part's corner was slightly too "pointy."
But there is a benefit to all this madness. Perfect fitment, high quality, visually balanced functioning parts!
Map Lids V2.0
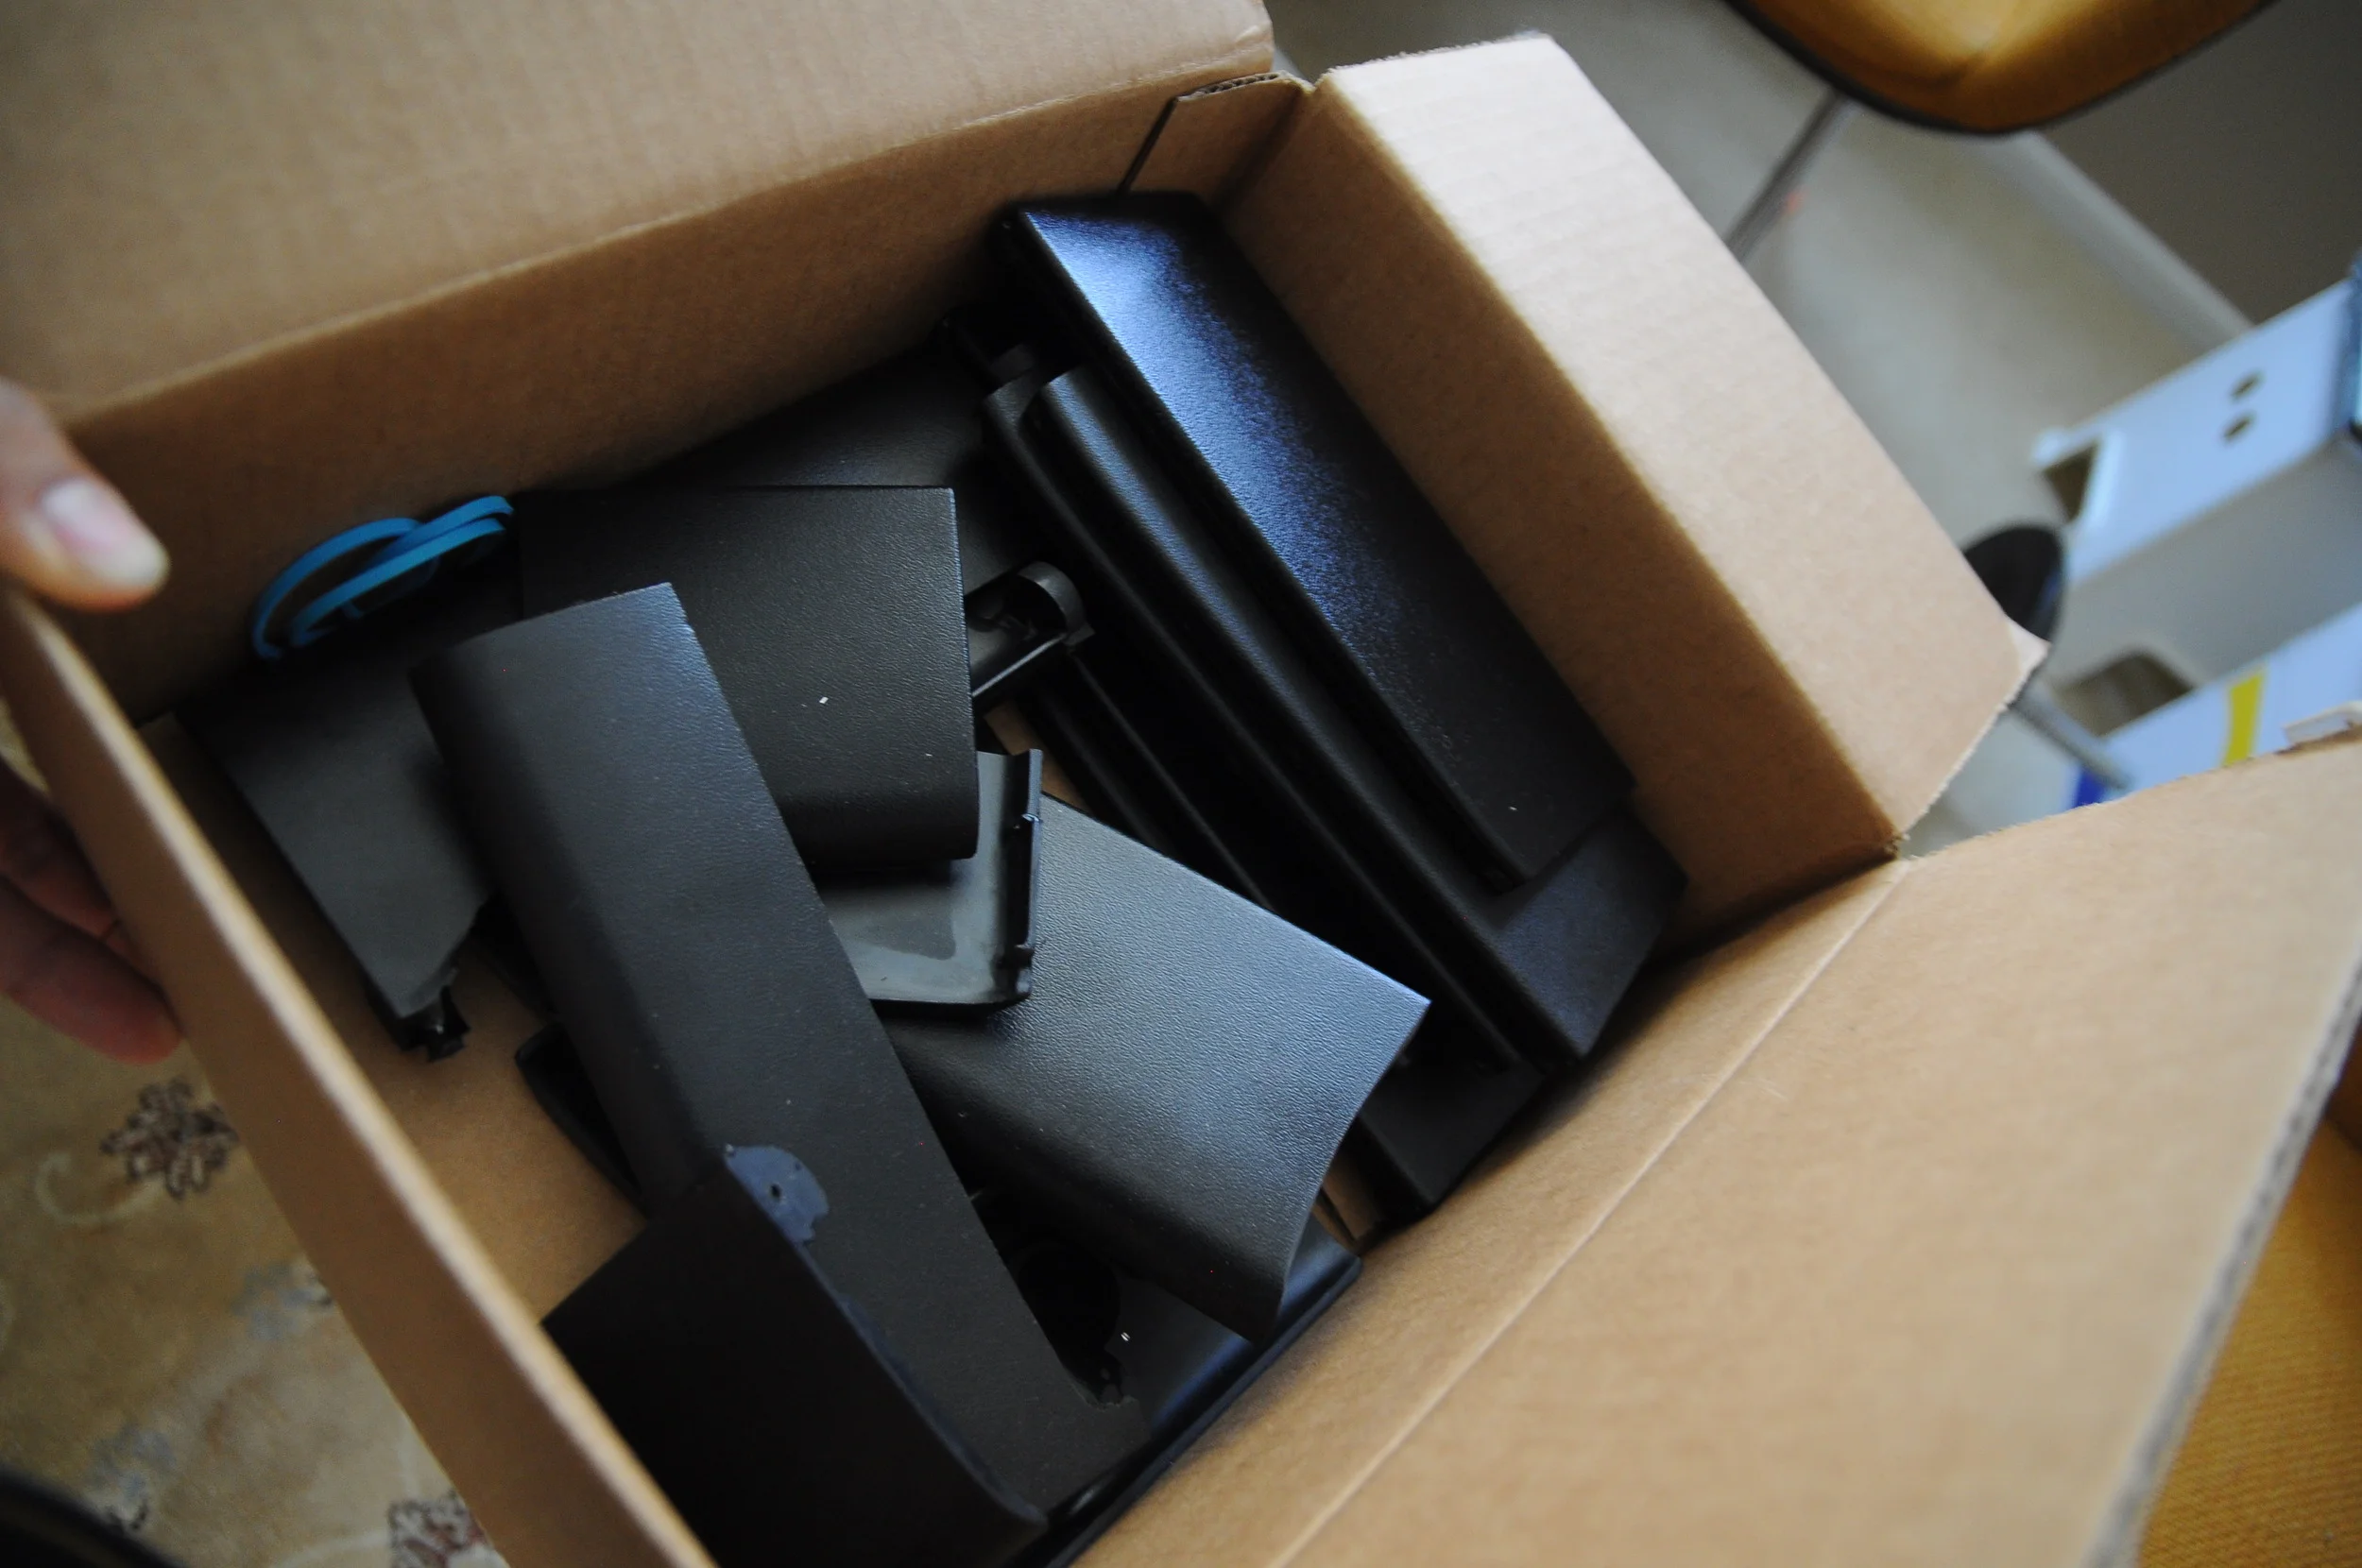
Another product we've been working on is the re-release of our map lids. The main difference in Version 2 is the direct casting off the OEM 94+ textured finish. These will be made in LHD and RHD (Thanks Paul!) For those unfamiliar with our map lids, we have made many improvements over the stock units. Check out our Map Lid V2.0 for a more in depth improvements we have made and to purchase yours now, right meow!! Here are some photos from our multi-step production. Don't be fooled by the mass quantity we've produced, there is a lot of testing and failures to reach this stage. Keep revising and tweaking!
Can you guess which is the OEM lid? Our new casting is virtually identical! (The first one is OEM)
Failures before success!
Midway through production run, right after post cure.
Radio Delete/Switch Panel
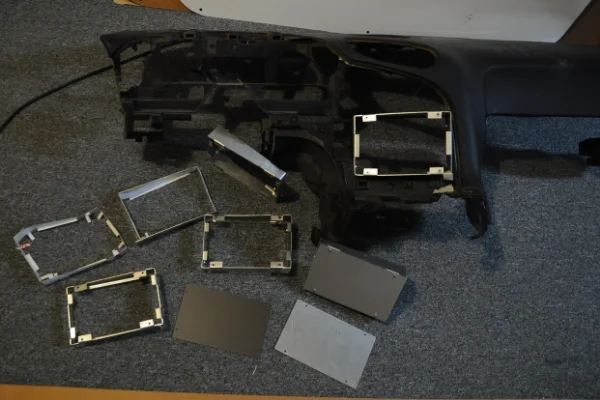
The last item we'll be talking about is our Radio delete/switch panel kit. This has been something I've wanted to produce for a long time. If take a look at the photo to the right, you can see the paper prototype on the top left that I made about a year ago and then to the right of it a janky ass aluminum prototype. Unfortunately at that time I didn't have the proper machinery to develop these properly so it has been sitting on the back burner.
Finally acquiring the proper machinery, its go time! If you carefully look at the various prototypes you can see the tab system I have integrated. This was inspired by the "Cage" to my double din head-unit. The backside has two style tabs, one style is bent 90* to prevent the cage from sliding through and the second set of tabs are long fingers which are bent around the backside to grip the frame to the dash unit. On the front side, 90* tabs have been bent and inserted with rivnuts to hold the face plate. With this tab system, each tabs placement is important. The earlier prototypes featured much larger tabs as I miscalculated the constraints to my metal brake (sheet metal bender) causing them to interfere with each other. Shortening the tabs and revising the spacing over come those issues.
The last problem to tackle was closing the frame. As some of you may have seen in our give away on Facebook and Instagram, these cages start out as a long straight piece. Once all the edges are bent, the last corner needs to be joined. As seen in the second picture, we did a few tests from aluminum brazing, solid rivets, and standard rivets. Brazing would have been ideal but since we are using pre-painted aluminum, the heat to melt the aluminum filler rod (700*+) was discoloring the aluminum. Next test of the solid rivets would have been a nice touch but due to the tight constraints of the frame, it wasn't possible to get a hammer to close the rivet. Lastly we tried the good ole' fashion rivets. We were able to get two 1/8" rivets in with ease, and once again the best part is we found them in a black finish! Although the rivets will be "slightly" visible, we designed the seam to be on the bottom right side so it will be virtually impossible to see unless you were laying upside down on the floor for some reason..... It's all in the details!
I hope you enjoyed our watered-down inside look at what it takes to develop a product. It's a long tedious journey filled with tons trial and error followed by countless revisions. But when all is said and done, there isn't a more satisfying feeling then coming across another car rockin' one of your products. Thank you to all those have supported us and keeping us in business!


