D E C O N S T R U C T I O N
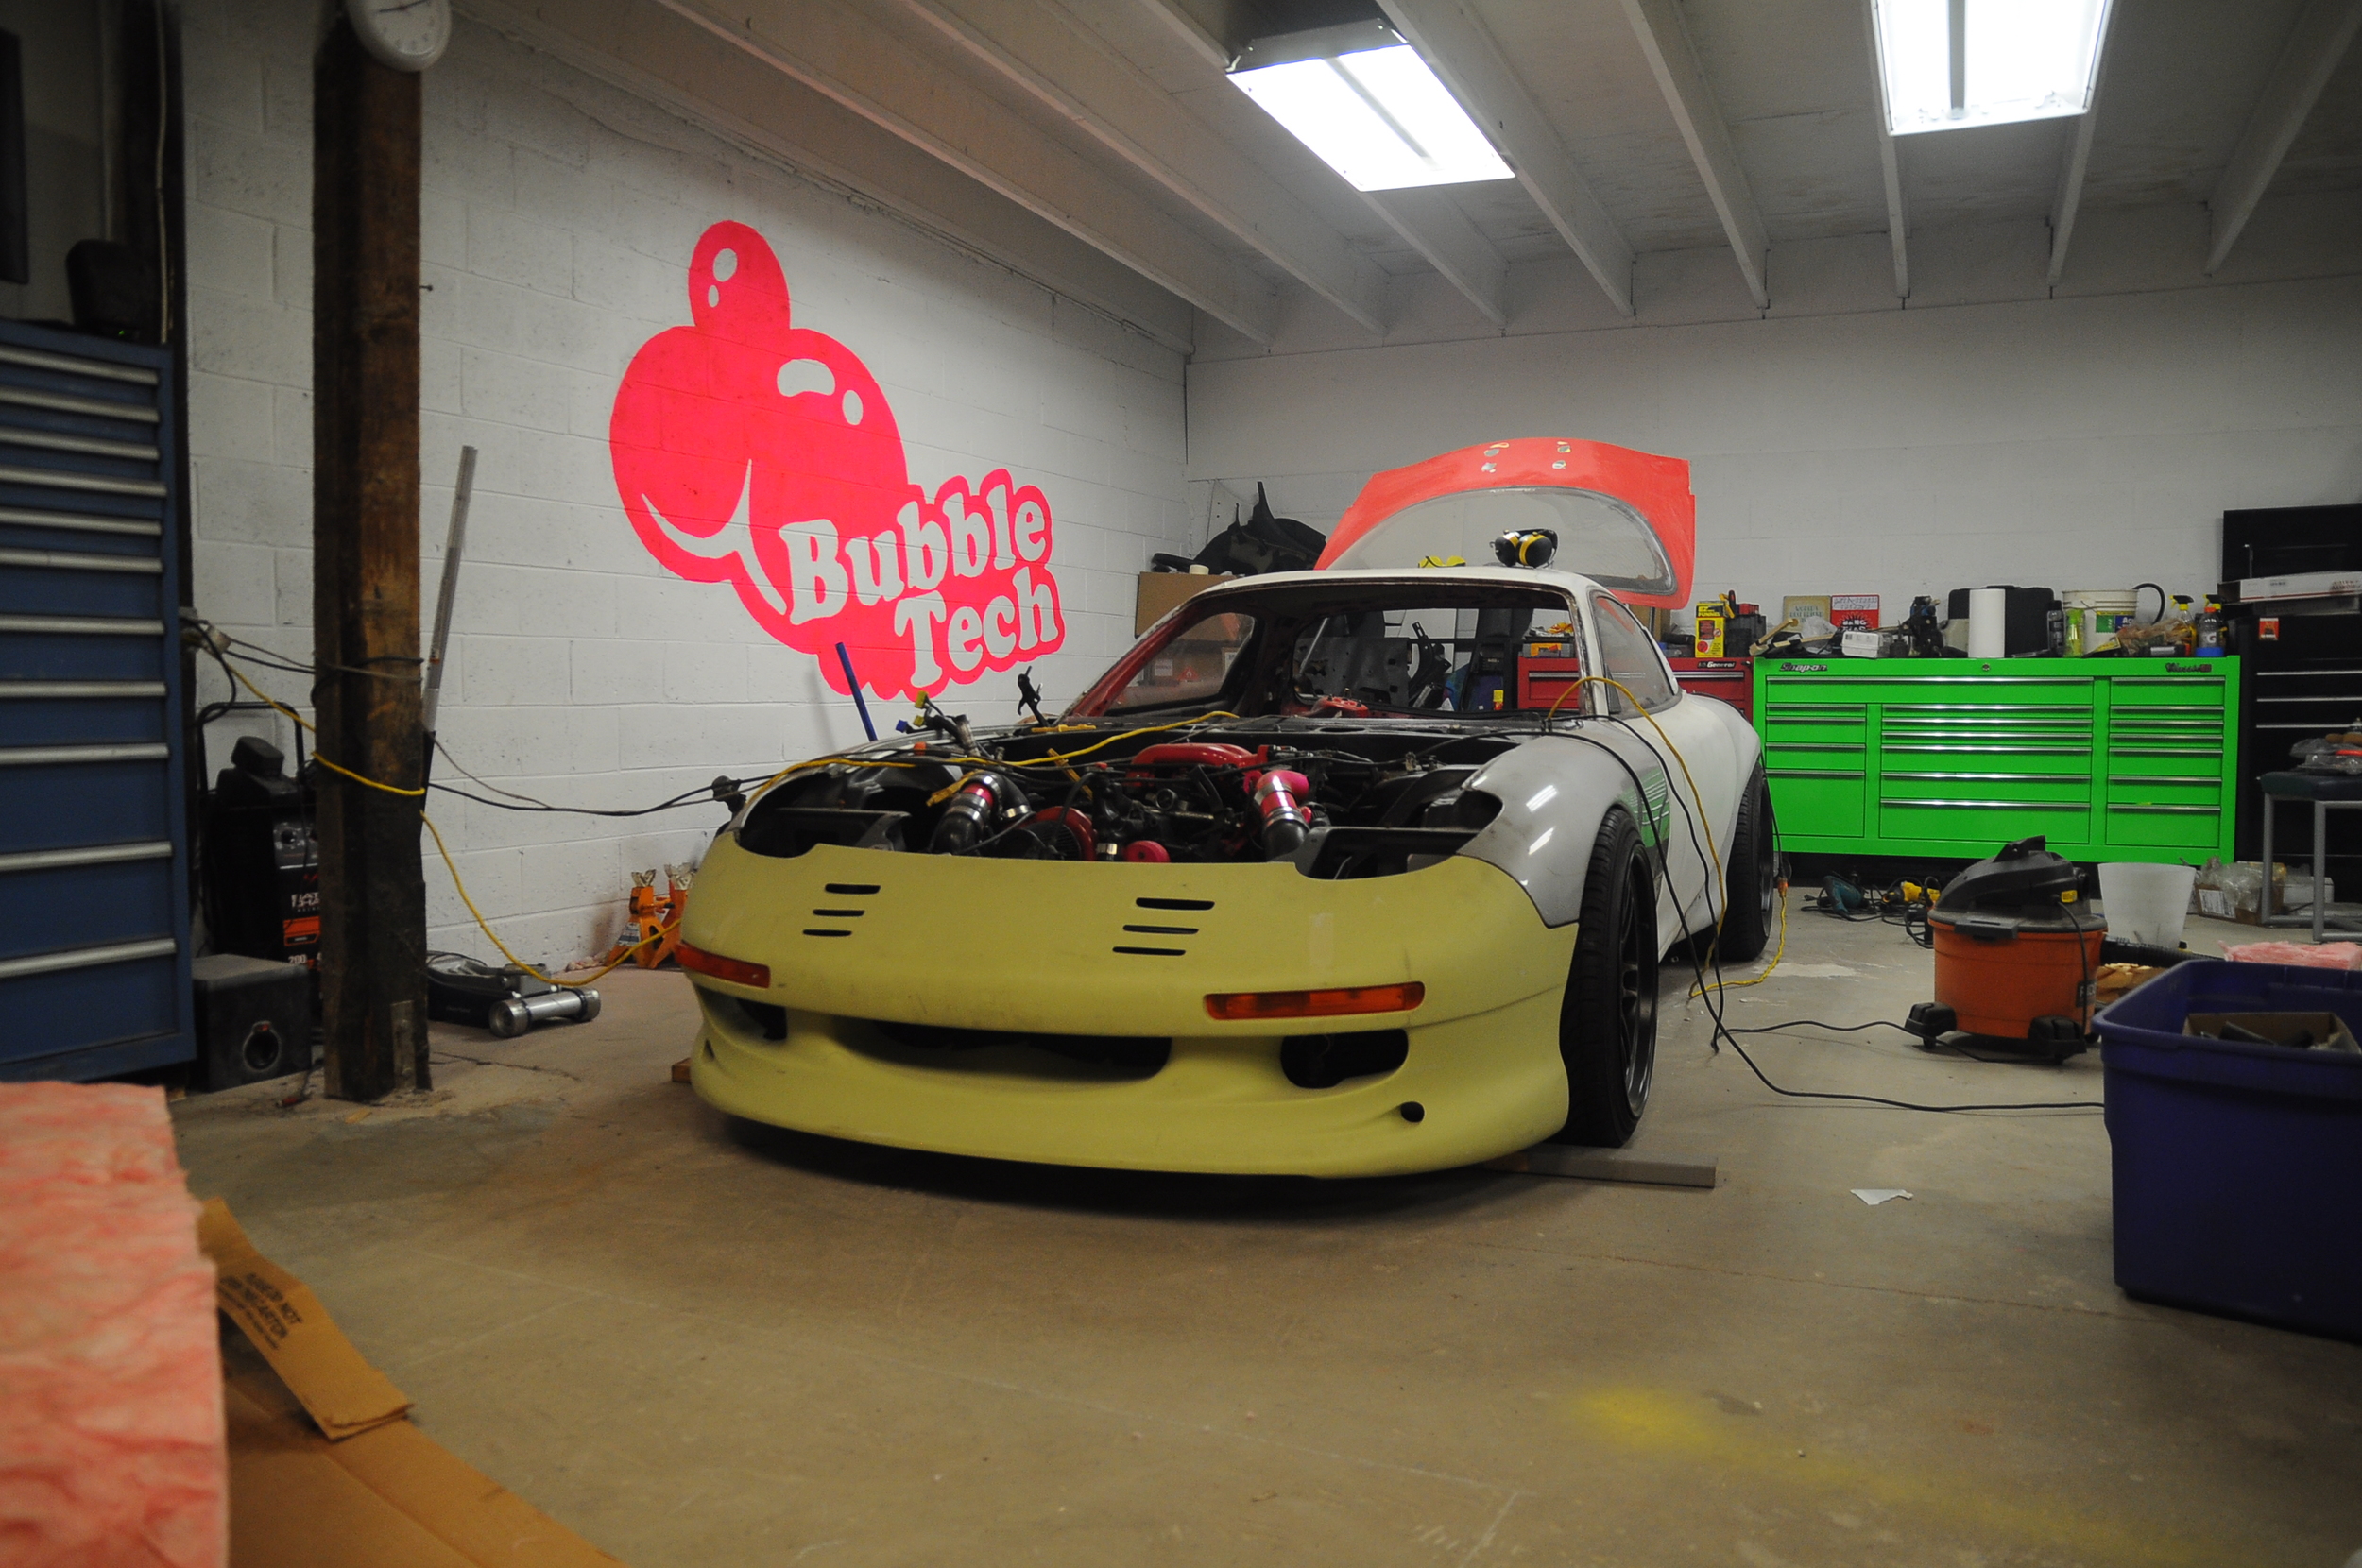
Well it's a new year and time to kick everything into gear. DGRR is right around the corner and that's our deadline. For those unfamiliar with DGRR, you can read about our 2014 experience here. PS, you SHOULD attend, it's my most favorite yearly meet as you get to meet in person all the people you talk to on the interwebs with, enjoy the great North Carolina Roads, Share the passion (with or without your car, its still a great event). After attending the last 2 years without the FD, I've finally got motivation to revive and start/finish the remaining projects I have been avoiding, well that and finally having shop space to work on the car during the winter months!
The Plan
So here is the main projects that need to be tackled. Remember this is a build list. Everything will be made from scratch except the VMIC which will I'll source parts and custom fab my own set up.
- Cage
- Trunk tool box
- 1pc Carbon Fiber dash
- 1pc Carbon Fiber trans tunnel cover
- Front/Rear Over fenders
- Side skirts
- Hood
- Front bumper (RE-Amemiya bumper in pic will be my back up if I dont get to this in time)
- Spoiler
- VMIC
- Wire whole car
Also Pending how far I get at the end of January, I would like to strip the chassis completely, and re-clean/paint all the under body/suspension arms I restored years back and painted bronze...
Currently
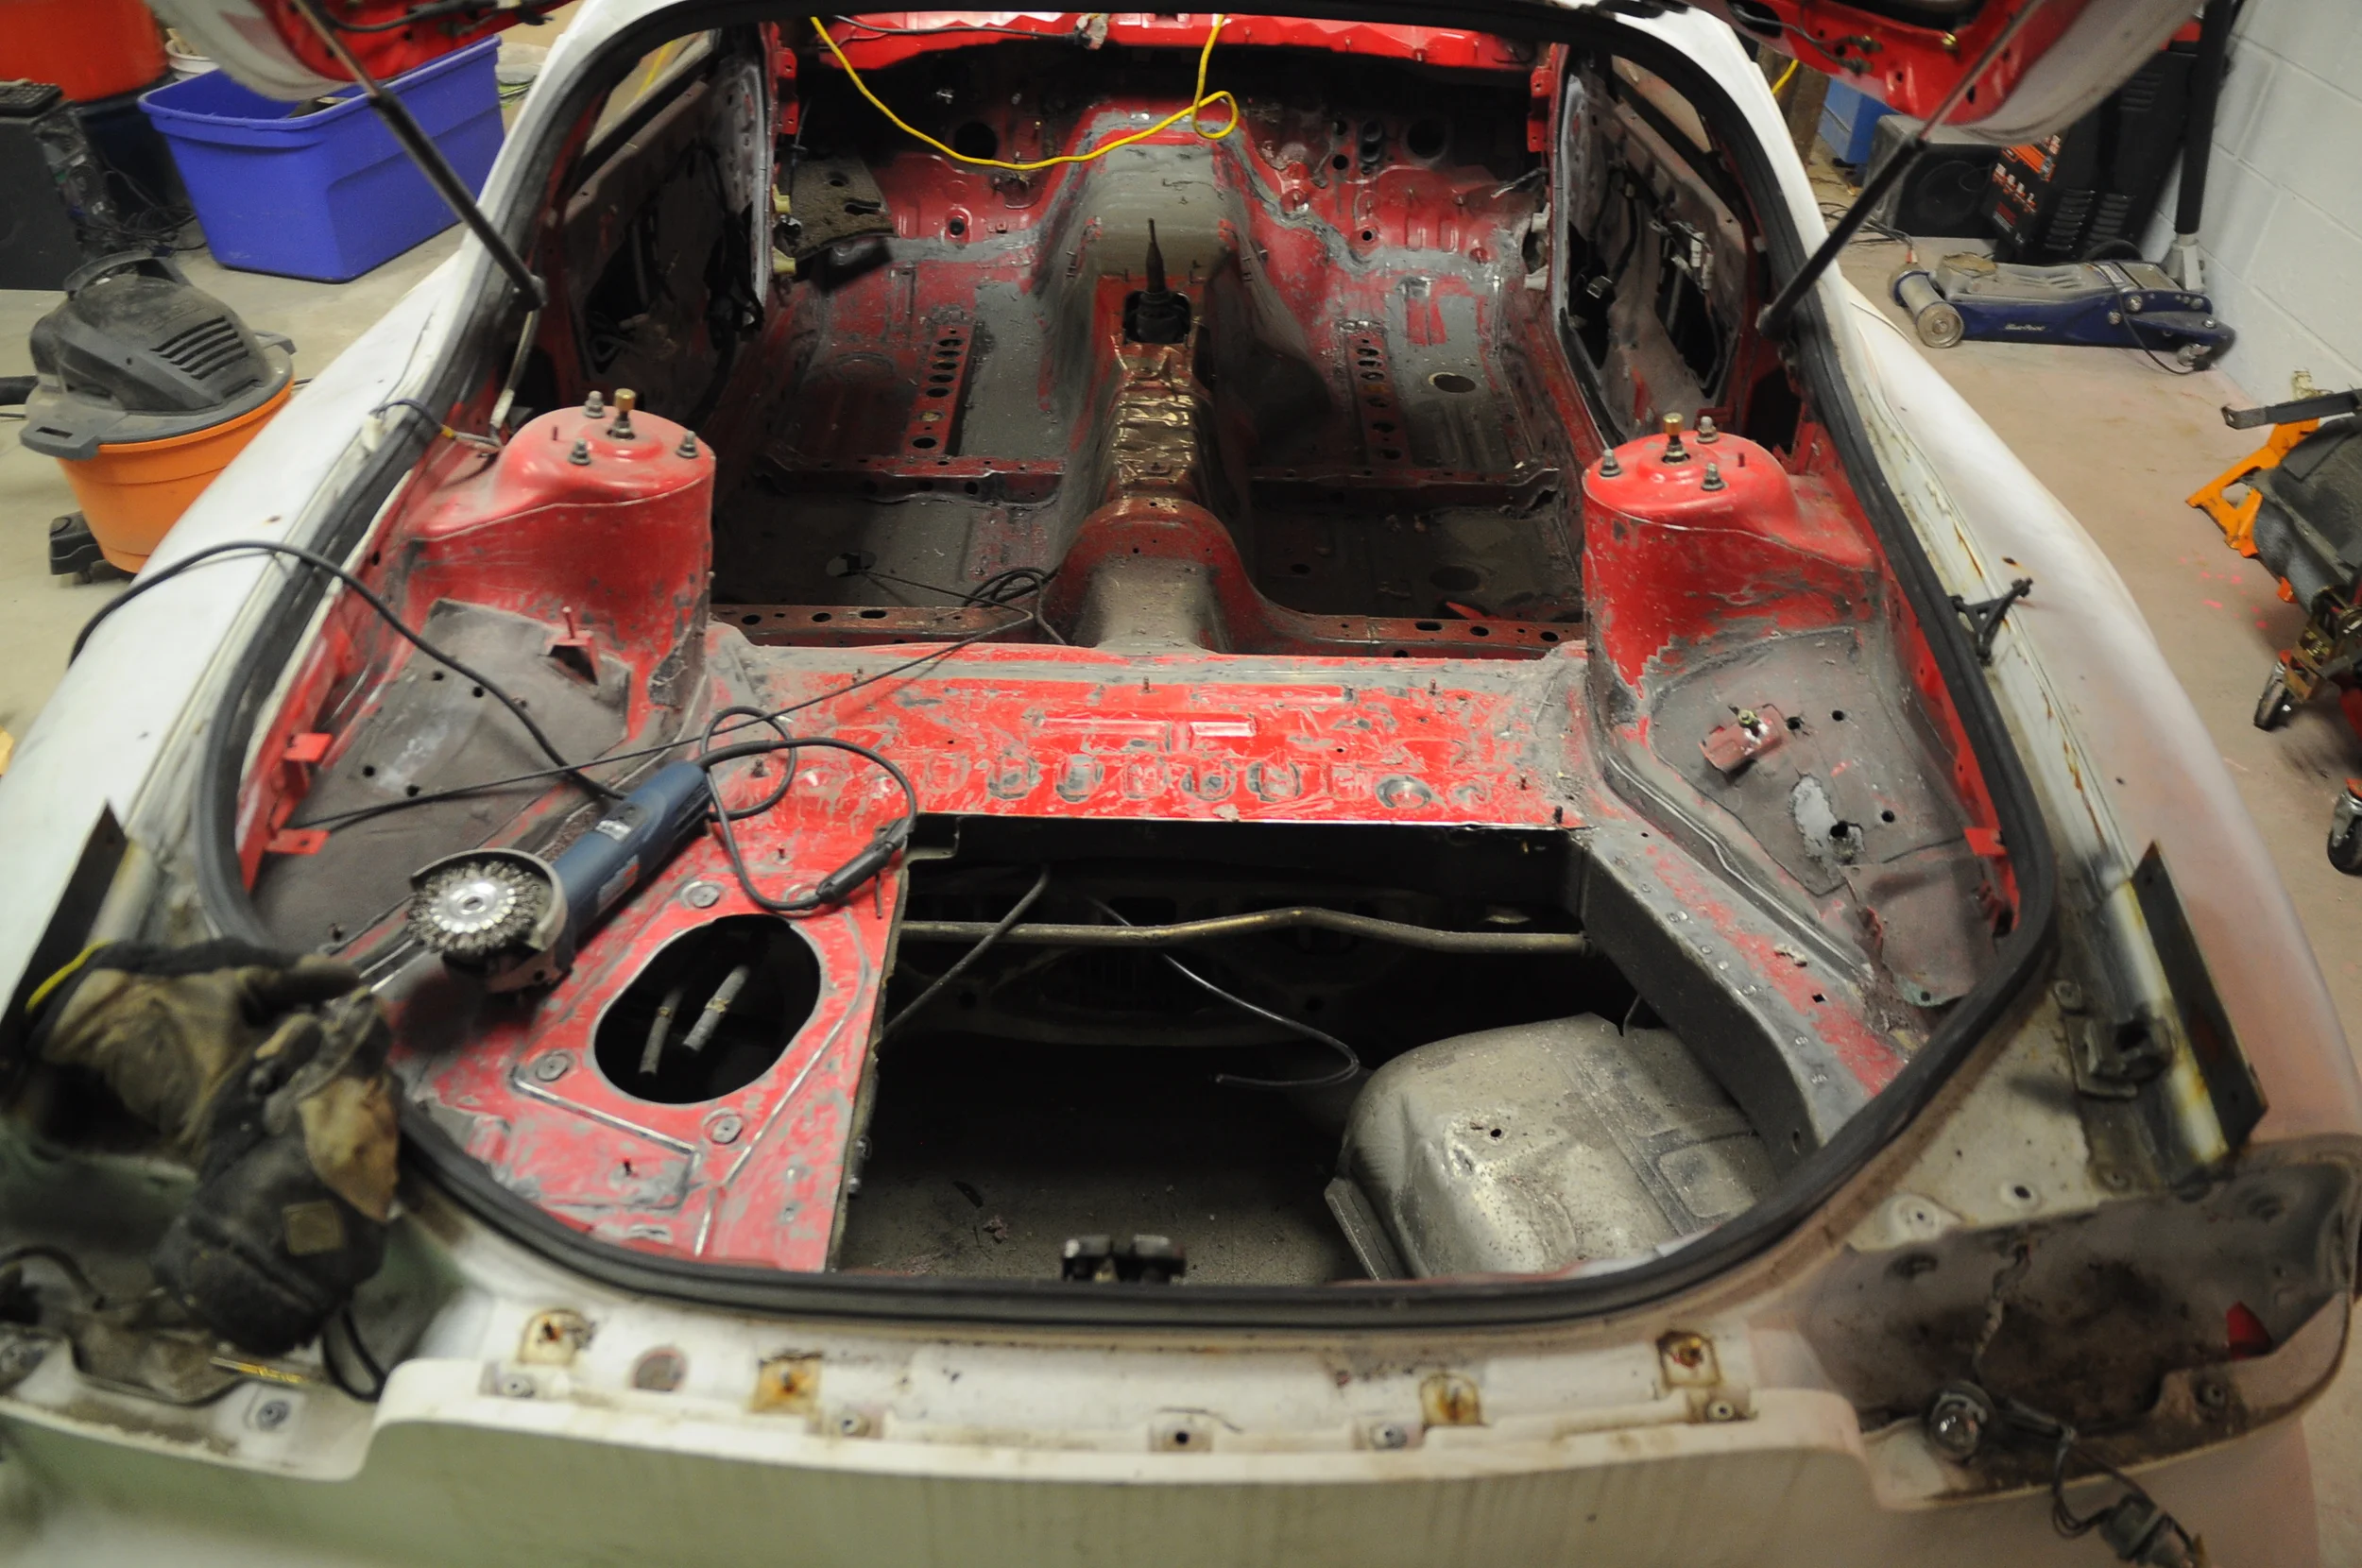
I removed the bulk of the sound deadener a few weeks back with dry ice, however, I was a genius back in 08-09 and thought it would be a great idea to add quiet coat to the whole interior (the grey paint you saw in the older pics). Being latex based, the dry ice method didn't work on it, heating it up with a heat gun and a scraper was way too tedious so on to a wire wheel. I used the cheap wire wheel kit from Harbor Freight and it worked phenomenally. It only took 1 wheel (the one with the thicker braided twists) to go over the whole interior as well strip the seam sealer as well. The pictures don't really do its justice since the quiet coat is grey, and if I sanded through the red paint it reveals the grey primer as well. Also you can see the sound deadener I missed on the fender arches -- I'll pick up another bag of dry ice for this. Do NOT use a wire wheel on the factory sound deadener, you will have a bad time. The wire heel just "pushes" the adhesive around and smears it since the friction heats it up, stick with dry ice only for this.
Bro tip: If you are using dry ice properly, you will not have to hulk smash the shit out of it. Also don't try being a hero and dry icing the whole car at once, work in sections, wait until you hear it crack off. Learn from my mistakes.
-Sincerely dented transmission tunnel =(
Bro tip: If you are using dry ice properly, you will not have to hulk smash the shit out of it. Also don't try being a hero and dry icing the whole car at once, work in sections, wait until you hear it crack off. Learn from my mistakes.
-Sincerely dented transmission tunnel =(
Wear protection. I'm definitely getting old but the grinder running for hour and sound deadener and seam sealer flying every where is no fun, especially in your eyes and lungs!!!
Bro tip: If you are using dry ice properly, you will not have to hulk smash the shit out of it. Also don't try being a hero and dry icing the whole car at once, work in sections, wait until you hear it crack off. Learn from my mistakes.
-Sincerely dented transmission tunnel =(
Before
After
I also cut the trunk spare wheel well out, not for a fuel cell. I hated that thing, the shape made it virtually useless except for a spare tire. Given I always drive with an "emergency tool kit" in a bag that simply gets tossed around the trunk, I figured I'd utilize this wasted space. The concept is still up in the air, but as of right now I plan to leave it open and weld in a framed lip that will accept a square box. I will make a square pan and rivnut it in place. Having it removable and giving me access from above just seems like a great idea to me since I work on my own car and I'm lazy. Hahaha, just kidding, I just like having everything easily accessible! So with the pan installed, I will build a liner box that will house all the tools thus for track days I can remove them before hitting the track!
I also bent up the main hoop for the Cage a few days ago and have been battling back and forth if I wanted to install interior plastics back in (bins and rear speaker plastics). Given I bent the main hoop with the intentions of making it as tight as possible, there was no room for the plastics so I had a week long debate. After I did some more research I came across Kevin Doe's Cage which utilizes the stock plastics, however this meant I would have to re-bend my main hoop and it would be a little narrower since I'd have to add clearance for the plastic trim. Then I came across Kiwi Motoring Build and fell in love with the stripped interior. Game on!
Here's the Beginning of my main hoop. Friction fit mock up pictures so it's most likely off and not centered. I'll be adding a diagonal and horizontal bar for harnesses, diagonal bars from the hoop to rear strut tower, X rear, horizontal strut bar and nascar style door bars *I think* Also the whole chassis will be stitch welded.


